Curated Condo
To curate a space is to carefully select each item with a purpose! This condo curation project took 2 years from start to finish! As the saying goes - good things come to those who wait! From the tedious process of narrowing down the perfect pieces, to industry delays with the pandemic and manufacturing/shipping issues, it was a patient process in assembling everything in this space. Curating a home is not just adding lots of stuff to fill a space. It’s handpicking items that work together to create a cohesive and well thought out collection that includes color, texture, scale, and flow. So with all that said, we thought we’d give our top 3 insights into how we curated this condo from the ground up!


Here’s a bit of the backstory: Our client wanted a “spa like” atmosphere for this condo. She was downsizing from a very colourful and eclectic house and she travelled quite a bit. She wanted a space she could come home to and feel the most relaxed. She had bought this brand new condo because of it’s location, but was terrified of all the white walls! We loved the blank canvas and assured her that the space wasn’t going to end up feeling “cold” and that we’d be able to create a perfect space for her without even having to paint!


We focused on neutral, cool colors with blue as the main accent. A fun fact about the color blue is that it’s one of the most visible colors to the human eye. The eye muscles don’t have to strain or make extra effort to deal with the color blue, making it easy to look at. Blue brings calmness and happiness to our minds. Alright - on to the good stuff!

1. Everything Has It’s Own Place
A space can easily become cluttered, so it’s key to edit and select each item with a place in mind. It’s important to make sure what you’re curating is scaled for the space it’s planned to go!
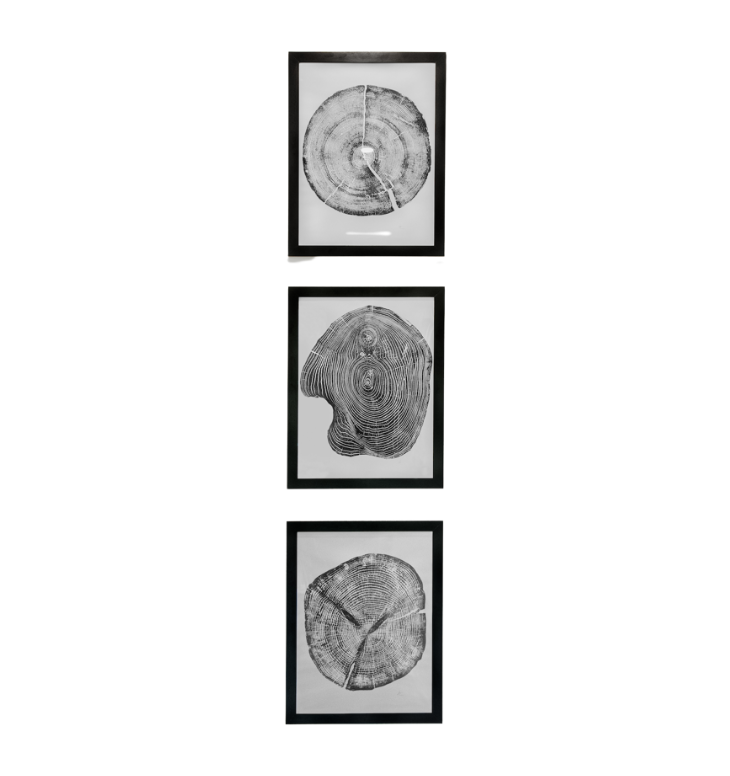
This condo has high ceilings and we wanted to showcase the height by stacking these art pieces vertically to really elongate the hallway and create a focal point.
We wanted these to be a bold anchor, so having a thicker black bordered frame really made this delicate art stand out, especially against the white walls. Don’t neglect the frame when you’re framing art pieces! The frame you choose can really change how the art reads.

2. Layers, Layers + More Layers
Layering a space creates an atmosphere with dimension. Layering really comes down to using different patterns, shapes, textures and colors to add depth, balance and create contrast. Because so many different things go into creating a design, like paint, flooring, the furniture and decor, it’s important to think about what the base layer is and how to build on to it.
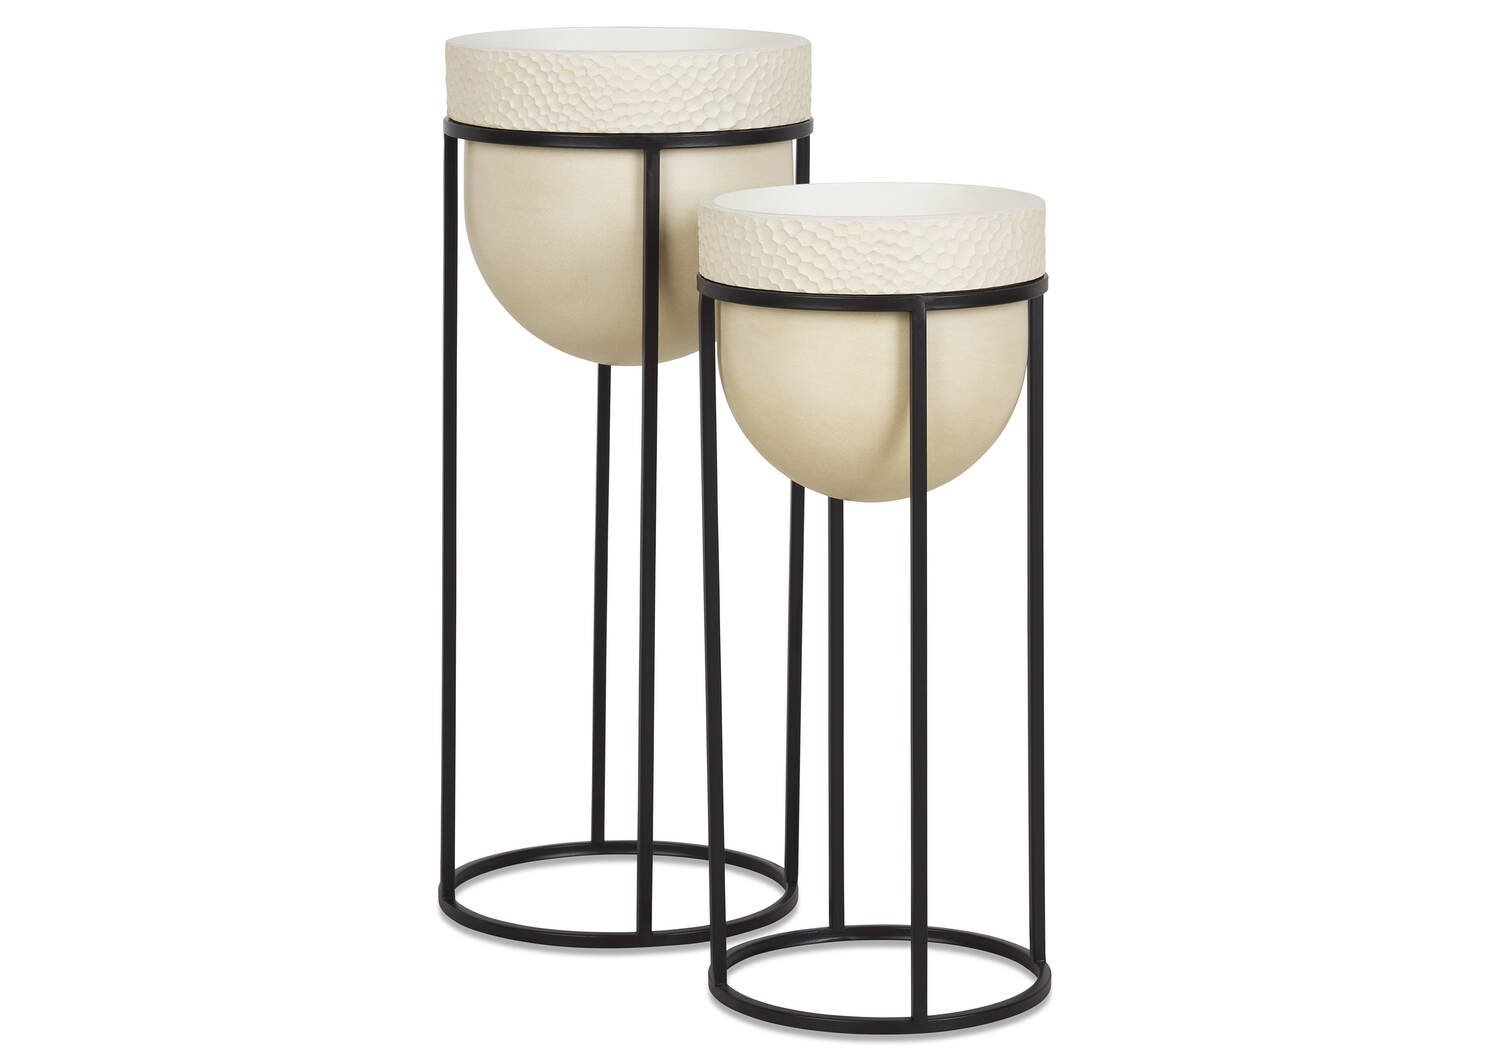
In this cozy corner, the texture and color of the bench was the anchor and we needed to make a corner that was visually light to create balance, while filling a void. The planters were chosen for scale to bring the eye up the wall and the art piece was added to create the focal point.
The key to layering, is editing to make sure the elements all come together to create a cohesive visual.

Photos by: New Copper Photography + re:Design
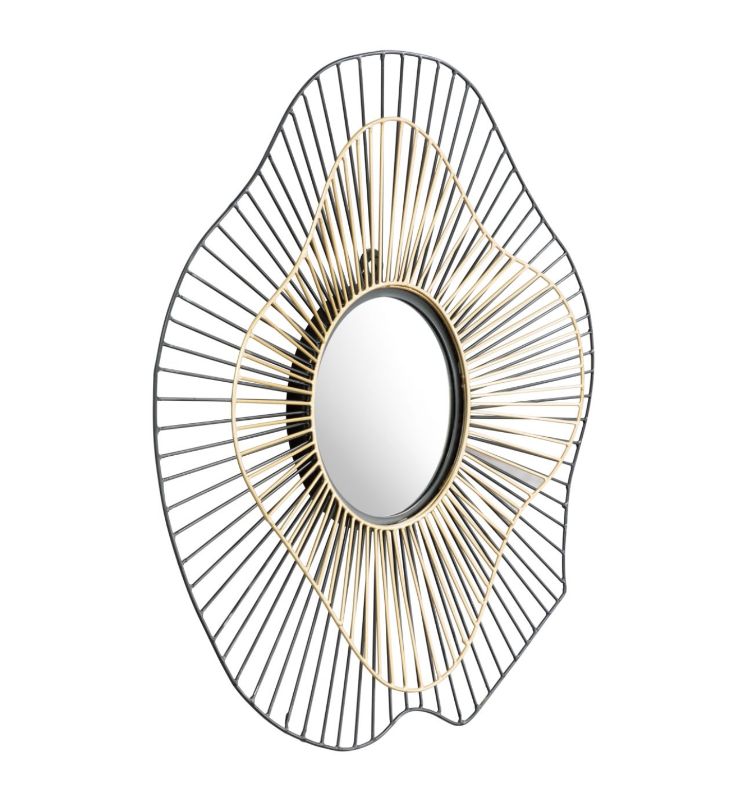
3. Texture Is Essential
A word we use oh so often in design… texture! Texture is a great way to enhance a space, since it can be subtle, but powerful. It can be visual or tactile and we love to use both.
We stated with adding the wallpaper to create a feature wall in the bedroom. The wallpaper itself has a slight texture, but the visual pattern it has is what brought the space to life. Though it’s circular in pattern, it’s also linear and that’s what the delicate window sheers play off of so well. The meeting of these two in the corner really created a powerful combo that set the tone for the entire room!
Go check out our portfolio for more photos of this space and browse the links below to shop this look for yourself!
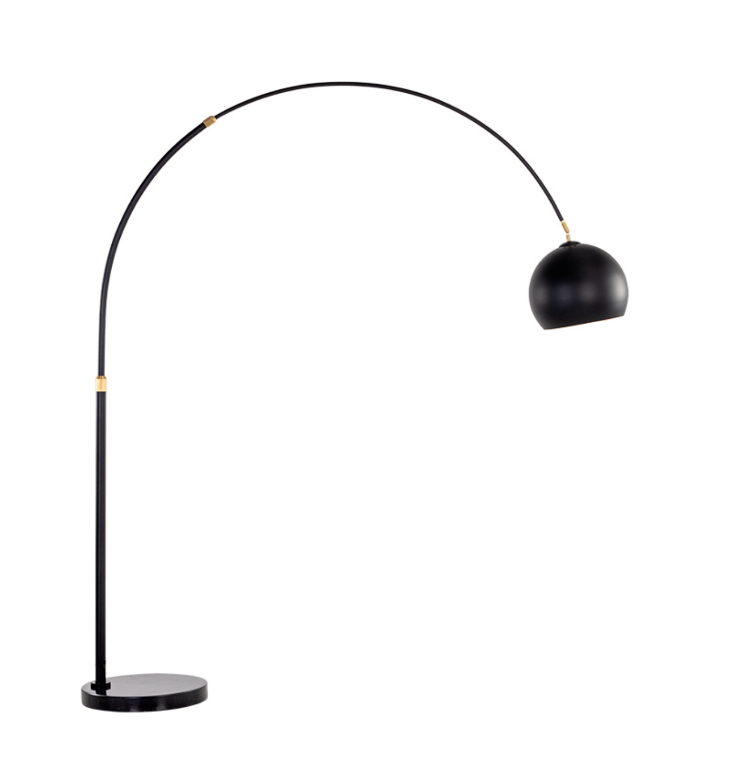
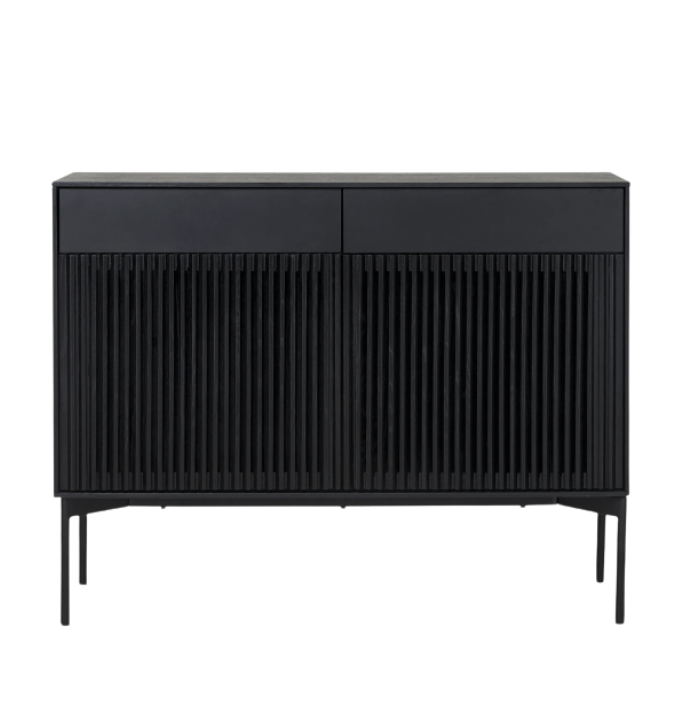
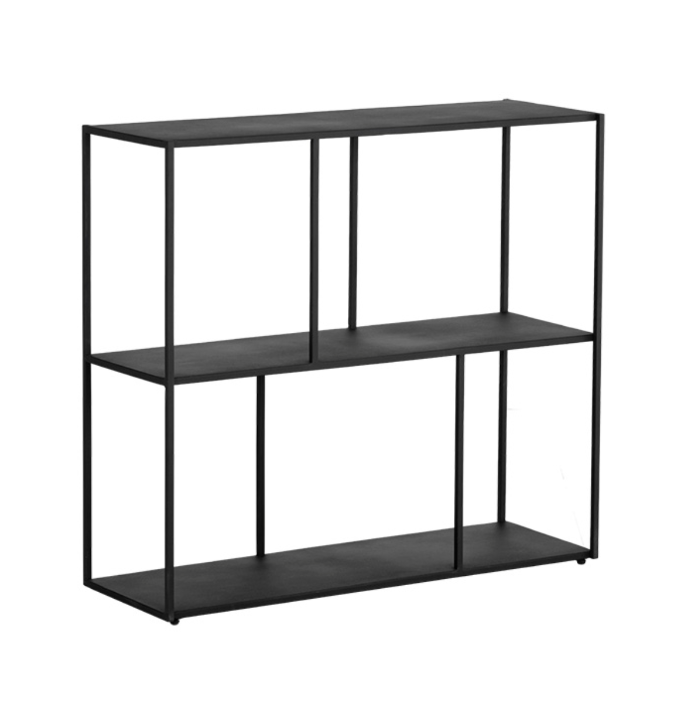
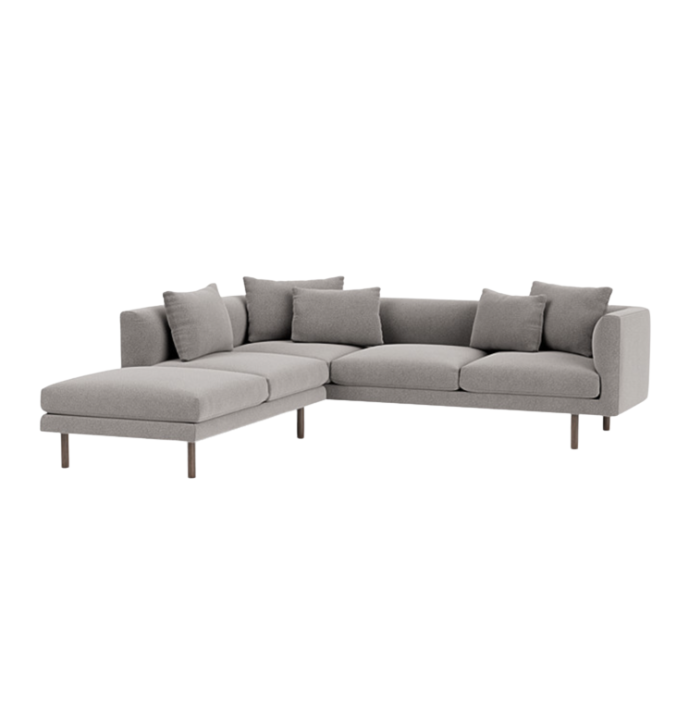
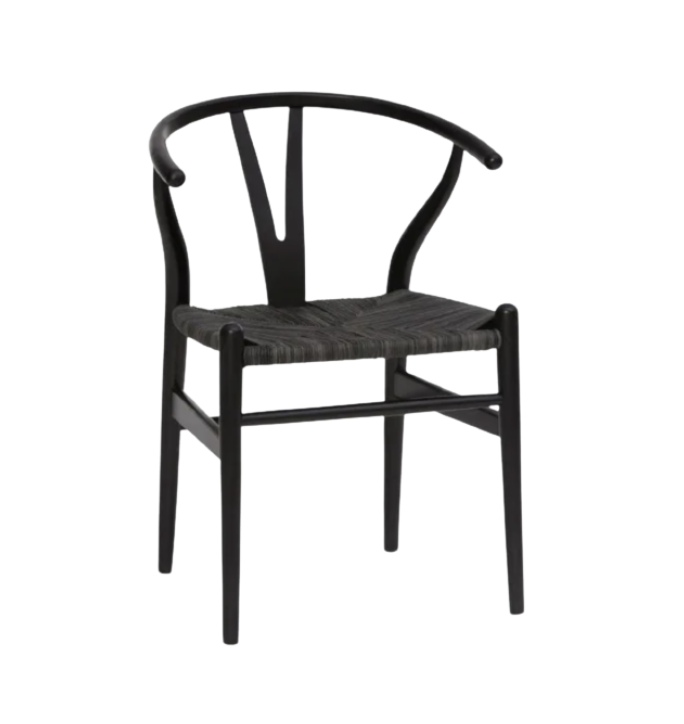
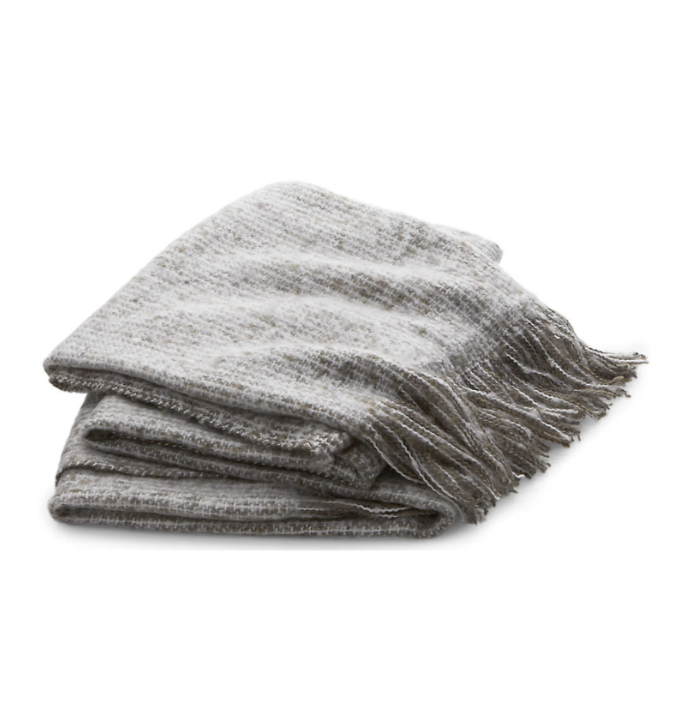
SHOP THE LOOK!